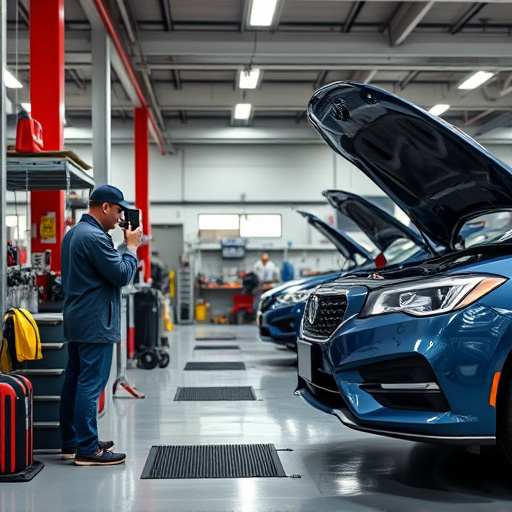
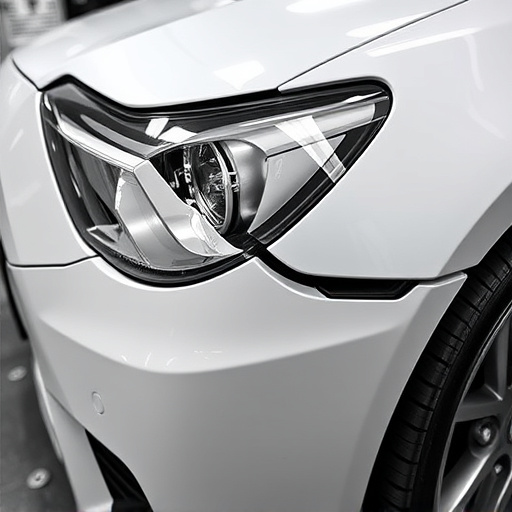

Proper plastic bumper repair begins with thorough inspection and damage assessment. Debris removal, sanding, and cleaning prepare the surface for filling and painting. Skilled technicians use auto body filler to restore damaged areas, achieving a smooth, level finish that ensures structural integrity and preserves vehicle value. Achieving an exact color match through meticulous preparation, filling, smoothing, and priming is paramount for professional body shop services.
“Looking to fix that scuffed or damaged plastic bumper? Our comprehensive guide walks you through the process of efficient plastic bumper repair. From initial preparation, including meticulous sanding and cleaning, to restoring damage with precise filling and leveling, we break it down step-by-step. We cap off with expert tips on painting and finishing for a flawless match, ensuring your bumper looks like new. Discover how easy and affordable plastic bumper repair can be.”
- Prepare the Bumper for Repairs: Sanding and Cleaning
- Filling and Leveling: Restoring Damage
- Painting and Finishing: Achieving a Perfect Match
Prepare the Bumper for Repairs: Sanding and Cleaning
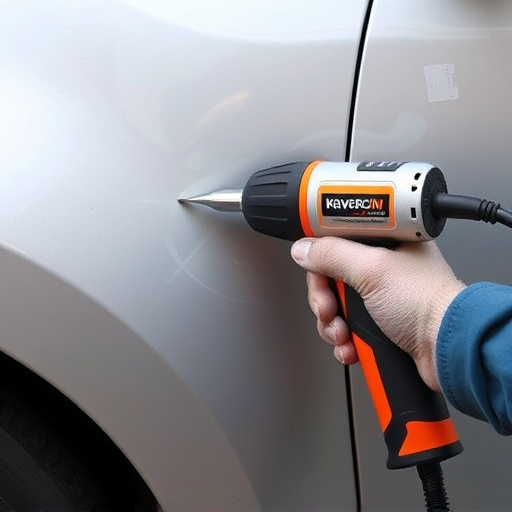
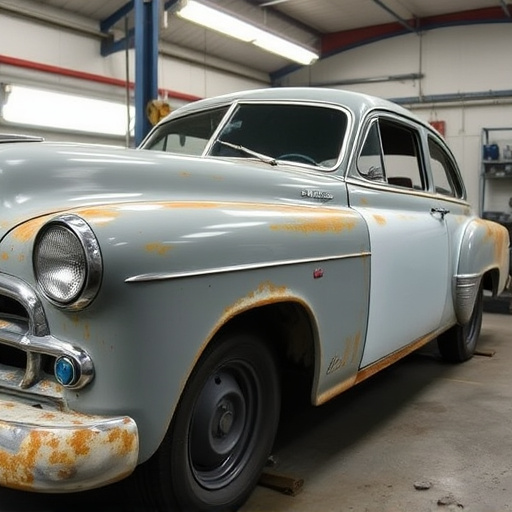
Before attempting any plastic bumper repair, ensuring your bumper is properly prepared is a crucial step. Start by thoroughly inspecting the damaged area to assess the extent of the car damage repair needed. Remove any loose debris or remnants from the impact using a gentle vacuum or soft brush. This initial cleaning process helps create a clean surface for the subsequent repairs.
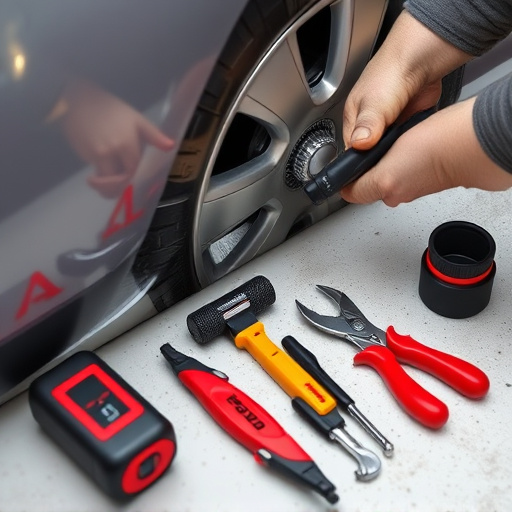
Sanding is an essential part of the preparation stage, especially if there are visible scratches or dents. Use a fine-grit sandpaper to gently buff the affected region, removing any rough textures or imprints. Take care not to over-sand, as it might cause further damage. Once sanding is complete, clean the area again to remove any dust particles, ensuring a pristine surface ready for filling and painting, ultimately enhancing your plastic bumper repair results at an auto collision center.
Filling and Leveling: Restoring Damage

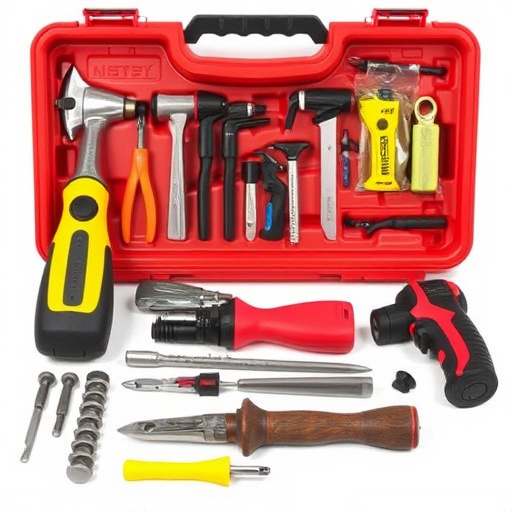
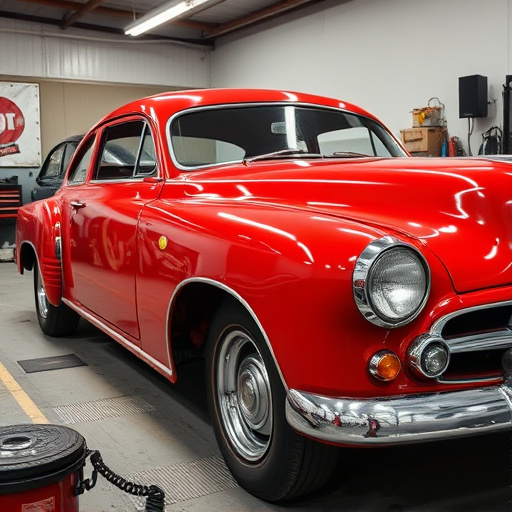
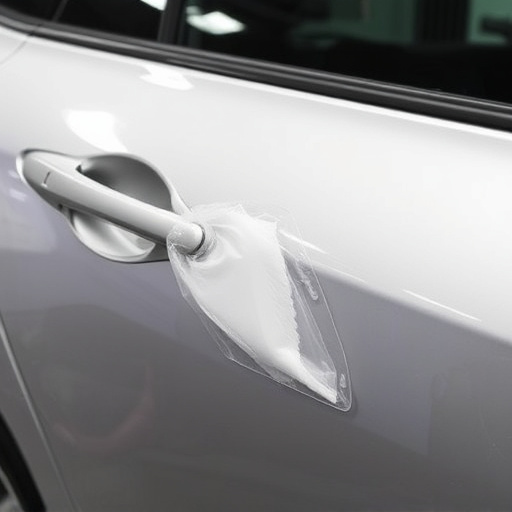
After sanding, the next crucial step in plastic bumper repair is filling and leveling. This process involves restoring the damaged area to its original shape and smoothness. Auto body filler, a special compound designed for plastic surfaces, is applied to fill any cracks, dents, or imperfections. The filler is carefully shaped and smoothed to match the surrounding bumper surface using tools like putty knives. Once the filler has hardened, it’s lightly sanded to ensure a level finish, ready for painting. This meticulous process isn’t just about aesthetics; proper filling ensures structural integrity, preventing further damage down the line.
For fleet repair services or vehicle restoration projects, this step is especially vital as it forms the foundation for a durable and attractive repair. The skilled technicians at reputable auto repair near me facilities understand the importance of precise filling and leveling, ensuring that each bumper looks like new, enhancing safety, and preserving the overall value of the vehicle.
Painting and Finishing: Achieving a Perfect Match
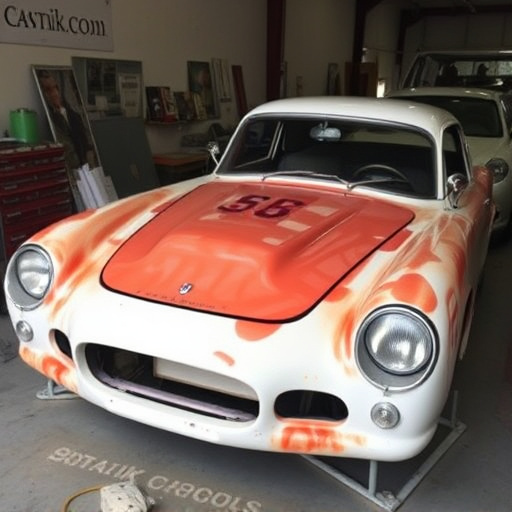
When it comes to painting and finishing as part of a plastic bumper repair, achieving a perfect match is paramount. The process begins with meticulous preparation, ensuring that the damaged area is thoroughly cleaned and sanded to create a smooth surface for application. This attention to detail is crucial in the body shop services where precision matters.
After sanding, any gaps or imperfections are filled using high-quality fillers, smoothing them out until they blend seamlessly with the existing bumper. Once dry, a primer coat is applied, serving as a neutral base that aids in achieving an exact colour match during the painting stage. This meticulous approach guarantees that the repaired bumper not only looks like new but also harmonizes flawlessly with the car’s overall bodywork services, effectively concealing any evidence of previous car collisions repair.
Plastic bumper repair is a process that involves several steps, from preparing the surface through sanding and cleaning, to filling and leveling damaged areas, and finally, a meticulous painting and finishing process. By following these methods, you can restore your bumper to its original condition, achieving a perfect match in color and texture. Whether it’s a small chip or significant damage, understanding these repair techniques empowers car owners to tackle minor bumps and scratches, extending the life of their vehicle’s exterior.